Hi ho everybody!
I’ve been terribly neglecting the little green box. There’s so much going on in our lives right now and my crafting skills and efforts were focused elsewhere (I’m nesting like a crazy bird… more about that – on a different post). I have a few things to share with you, but because I’ve been such a bad blogger – I’ll start with this really cool diorama tutorial!
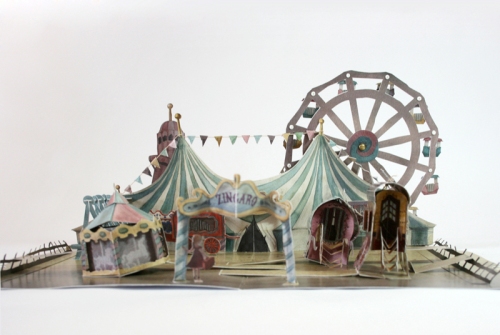
So, what’s a Diorama? one of the dictionary’s definitions is: “a miniature three-dimensional scene, in which models of figures are seen against a background”. Miniature? 3D? Sounds good to me. There are many ways to create a diorama, and if you google it you’ll probably find many versions and ideas. This tutorial will teach you how to make a most basic diorama frame, which you can personalize, change and adjust to your liking. The cool thing about this one is that, not only this is a tiny 3D picture that you can put on display, but it also FLATTENS so you can put it in an envelope and mail it! Pop-up card and diorama, all-in-one!
So – shall we begin?
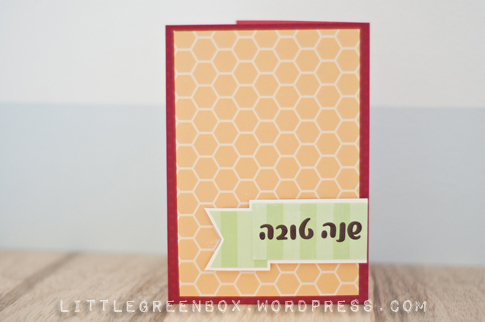
1. First step will be to choose your papers. I chose a collection of 4 shades of orange cardstock. Feel free to choose patterned paper instead, as long as it’s as heavy as cardstock, so it won’t come out too flimsy.
Next, cut your papers so they’ll measure slightly less than your envelope. My envelope was a 11×15 cm, so I’ve cut all my papers 10×14 cm. The diorama comes out a bit thick, so you’ll want to make sure it slides easily in and out of the envelope. Not using an envelope? cut it any size you want!
Use a pencil and mark a 1 cm inner frame on the back of three of the papers, leaving out the one paper you chose for the back of the diorama. I wanted my shades of orange to go from light (in the front) to dark (on the back), so I left the darkest shade unmarked.

2. Cut out the frames you marked (remember – the back of the diorama stays uncut!). Keep the insides of the frames aside, we’ll use them in a moment.

3. Using the insides of the frames from the previous step, cut two strips of paper from each color. Each strip should measure 10×4 cm. Score the strips using a bone folder or stylus, following the measurements in the picture below. Trim the corners as shown below and fold the strips to create little zig-zags. These pieces are the “hinges” of our little pop-up diorama.

4. Take your first frame, the one you want to place in the front, and add a stripe of glue to the back of one of its shorter edges. Make sure to use the glue on the back – we’re trying to keep the rough edges out of sight!

5. Take one of the “hinges” in the same color as the first frame and attach. Make sure that when you turn the frame over to its right side, everything is neat and aligned, the hinge’s glued tab is not peeking from the side (or the inside) of the frame.
Repeat this step on the other short edge of the frame, with the second coordinating hinge.


6. With the first frame facing down, add a stripe of glue to the inner tab of one of the attached hinges.

7. Place the next frame in line on the hinge, making sure it’s not sticking out on the top or the bottom.

8. Close the tab with the glue on top of the frame. Repeat on the other side.

9. If you made it this far – you got it! You have completed the first scene of your diorama!

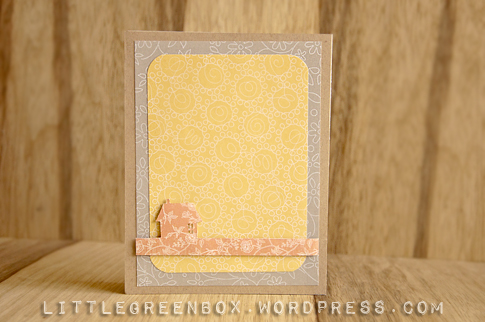
10. If you follow steps 4-8 with the rest of the frames, you’ll receive this finished diorama base! I warmly recommend to decorate the last piece – the back of the diorama – in advance. It’s much easier than trying to stick your fingers in there for stamping or gluing…


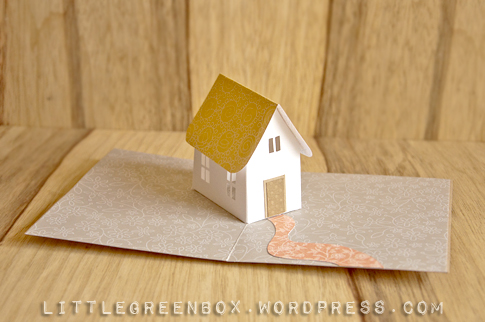
11. Now you can stamp, cut, punch whatever elements you want, to create your special little scene.

TIPS AND TRICKS:
* I wouldn’t recommend adding more frames if the diorama is meant to be placed in an envelope. However, if it’s purely for decoration, you can add as many frames as you want!
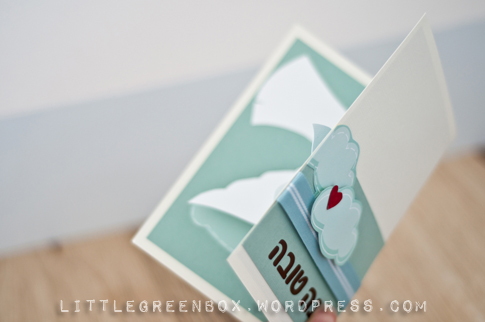
* Use the entire frame, not just its bottom (as I did with the gray flags). It’ll make the diorama seem deeper and more dramatic.
* The back of the diorama doesn’t HAVE to be uncut. You can make it as a frame too, creating a see-through diorama.
* Why cut square frames? keep an approximately 1 cm margin (just to make sure the frame is solid), and cut the inside in the shape of a curtain, clouds, forest branches…
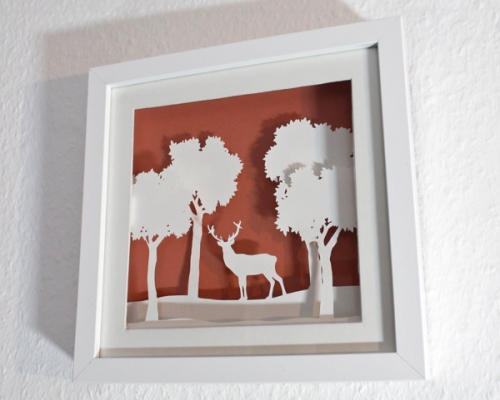
* Frame the diorama in a shadow box to get a very cool 3D decorative piece!

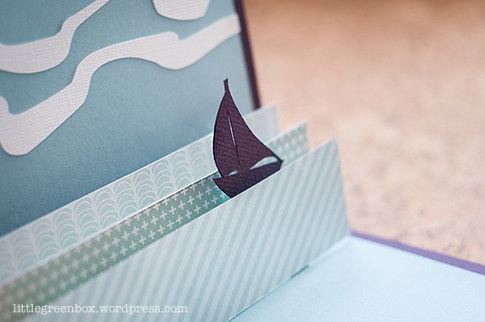
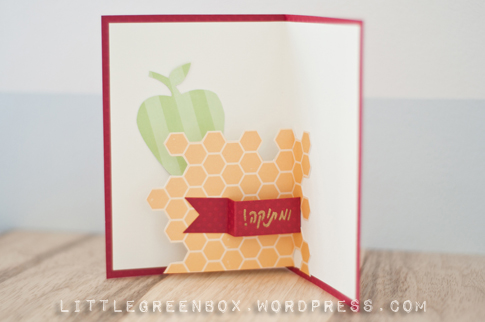
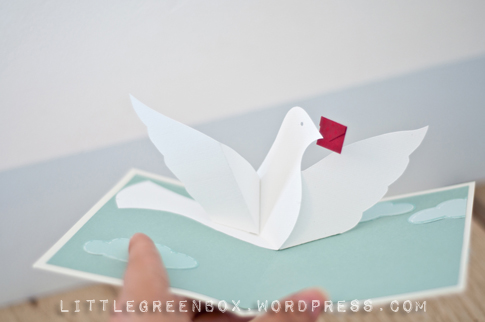
This diorama flattens to fit an envelope, but when pulled out it pops right up and becomes 3 dimensional and awesome!
Have fun with it!
ShirA